

Proper Flossing Method: Master the Essential Steps for a Healthier Smile
- Caterina Rutter
- Jan 15
- 12 min read

Mastering the right flossing technique is a practical skill for protecting your oral health. The core action is simple: use about 18 inches of floss, curve it into a 'C' shape around each tooth, and slide it gently just under the gumline. This specific method cleans where your toothbrush can't reach.
Treat flossing not as a chore, but as a crucial health practice. Learning this skill is your most effective action against future dental problems that are both painful and expensive.
Why You Can't Afford to Get Flossing Wrong
If you believe brushing alone is sufficient, consider this: your toothbrush misses up to 40% of your tooth surfaces. The tight spaces between your teeth and the pockets just below your gums become breeding grounds for plaque—a sticky, bacteria-filled film.
When plaque is left undisturbed, it hardens into tartar, which triggers inflammation, gum disease, and cavities. Simply snapping floss between your teeth is not enough. The proper flossing method is a deliberate action that disrupts these bacterial colonies and thoroughly cleans these hidden areas.
What Happens When You Skip It?
The consequences of neglecting this habit are significant. Nearly 47% of adults over 30 have some form of periodontal disease, much of which is preventable with correct and consistent flossing.
The global dental floss market is projected to reach almost USD 915 million by 2030 because its role in preventing cavities and gum disease is clear. Flossing correctly can remove up to 80% more plaque than brushing alone. It is one of the most powerful preventative actions you can take for your oral health. You can find more data on global dental floss market trends at Grandview Research.
"I tell my patients to think of flossing as essential maintenance for their mouth. You wouldn't skip an oil change and expect your car to run well. Your teeth and gums require the same consistent, detailed care to prevent major issues."
The Difference is Night and Day
The oral health of someone who flosses correctly every day versus someone who doesn't is dramatically different. One path leads to chronic inflammation and extensive dental work, while the other maintains a healthy foundation for life.
Seeing the tangible results can provide the motivation you need. To understand how this simple action transforms your oral health, explore the advantages of flossing your teeth in our detailed guide.
The table below shows the direct results of adopting a proper flossing technique versus inadequate methods.
Proper Flossing: The Immediate and Long-Term Impact
Health Metric | Brushing Alone or Improper Flossing | With Proper Daily Flossing |
|---|---|---|
Plaque Removal | Misses up to 40% of tooth surfaces | Removes plaque from between teeth and below the gumline |
Gum Bleeding | Often leads to persistent bleeding (gingivitis) | Reduces and eliminates bleeding within 1-2 weeks as gums heal |
Bad Breath | Fails to remove decaying food particles causing odor | Eliminates a primary source of halitosis for fresher breath |
Cavity Risk | High risk of cavities forming between teeth | Drastically lowers the risk of interdental decay |
Long-Term Health | Increased risk of gum disease and potential tooth loss | Supports healthy gums and helps prevent periodontitis |
The takeaway is clear: proper flossing is a direct investment in your long-term health, and the small daily effort delivers significant returns.
A Practical Guide to the C-Shape Flossing Technique
Knowing you need to floss is one thing; mastering the smile-saving technique is another. Here is how to execute the C-shape technique, the method dentists recommend for a thorough and safe clean.
This is a specific, deliberate motion designed to polish every hidden surface, especially just below the gumline where problems start. Focus on giving each tooth individual attention, not just clearing the gaps.
This infographic shows the difference between brushing alone, flossing incorrectly, and using the proper C-shape method.
As you can see, only the proper technique effectively removes the plaque that brushing leaves behind, which is the key to a genuinely healthy mouth.
Setting Yourself Up for Success
Proper preparation prevents frustration. Follow these initial steps to make the process easier.
First, tear off 18 inches (or 45 cm) of floss. This length is non-negotiable, as it ensures you have a fresh section for each tooth, preventing the spread of plaque from one area to another.
Next, establish a firm grip. Wind most of the floss around the middle finger of one hand (your supply hand) and a small amount around the middle finger of the other. This action frees up your thumbs and index fingers to manage a taut, one-to-two-inch section for precise control.
The Gentle Entry and Crucial C-Shape
Now for the most important part of the technique. Hold the small section of floss taut and gently guide it between two teeth with a light back-and-forth "sawing" motion. Do not snap it down into your gums, as this can cause pain and damage.
Once the floss is past the contact point, execute the signature move: curve the floss into a tight “C” shape, wrapping it firmly against the side of one tooth. This is the central principle of the proper flossing method, as it maximizes contact with the tooth's surface.
The C-shape is the mechanical key to an effective clean. It forces the floss to hug the tooth’s natural curve, enabling you to slide it just beneath the gumline where bacteria build their strongholds.
With the floss hugged against the tooth, slide it up and down several times. You should feel gentle pressure as it cleans the entire side of the tooth, from the top down into the pocket below the gumline. Your goal is to polish, not scrub.
Perfecting the Details for a Total Clean
A complete clean means addressing every surface. Once you finish one side of the gap, do not pull the floss out.
Instead, carefully lift the floss back over the gum tissue (the papilla) and form a new C-shape against the neighboring tooth. Repeat the gentle up-and-down motion. This two-step action ensures both sides of every gap are cleaned properly.
As you move to the next space, unwind a fresh section of floss from your supply finger and wrap the used portion onto the other. This step is critical:
It’s hygienic. You avoid re-depositing plaque you just removed.
It improves your grip. A clean section of floss is less slippery and more effective.
It prevents shredding. A fresh segment is less likely to fray or break.
This methodical approach is proven. While the American Dental Association outlined flossing guidelines in 1947, later research confirmed its effectiveness. By the 1990s, studies showed that consistent C-shaped flossing could reduce cavities between teeth by 40-60% and plaque by up to 70%. You can explore the dental floss market and its historical context for more data.
Choosing Your Tool: Navigating Floss, Picks, and Water Flossers
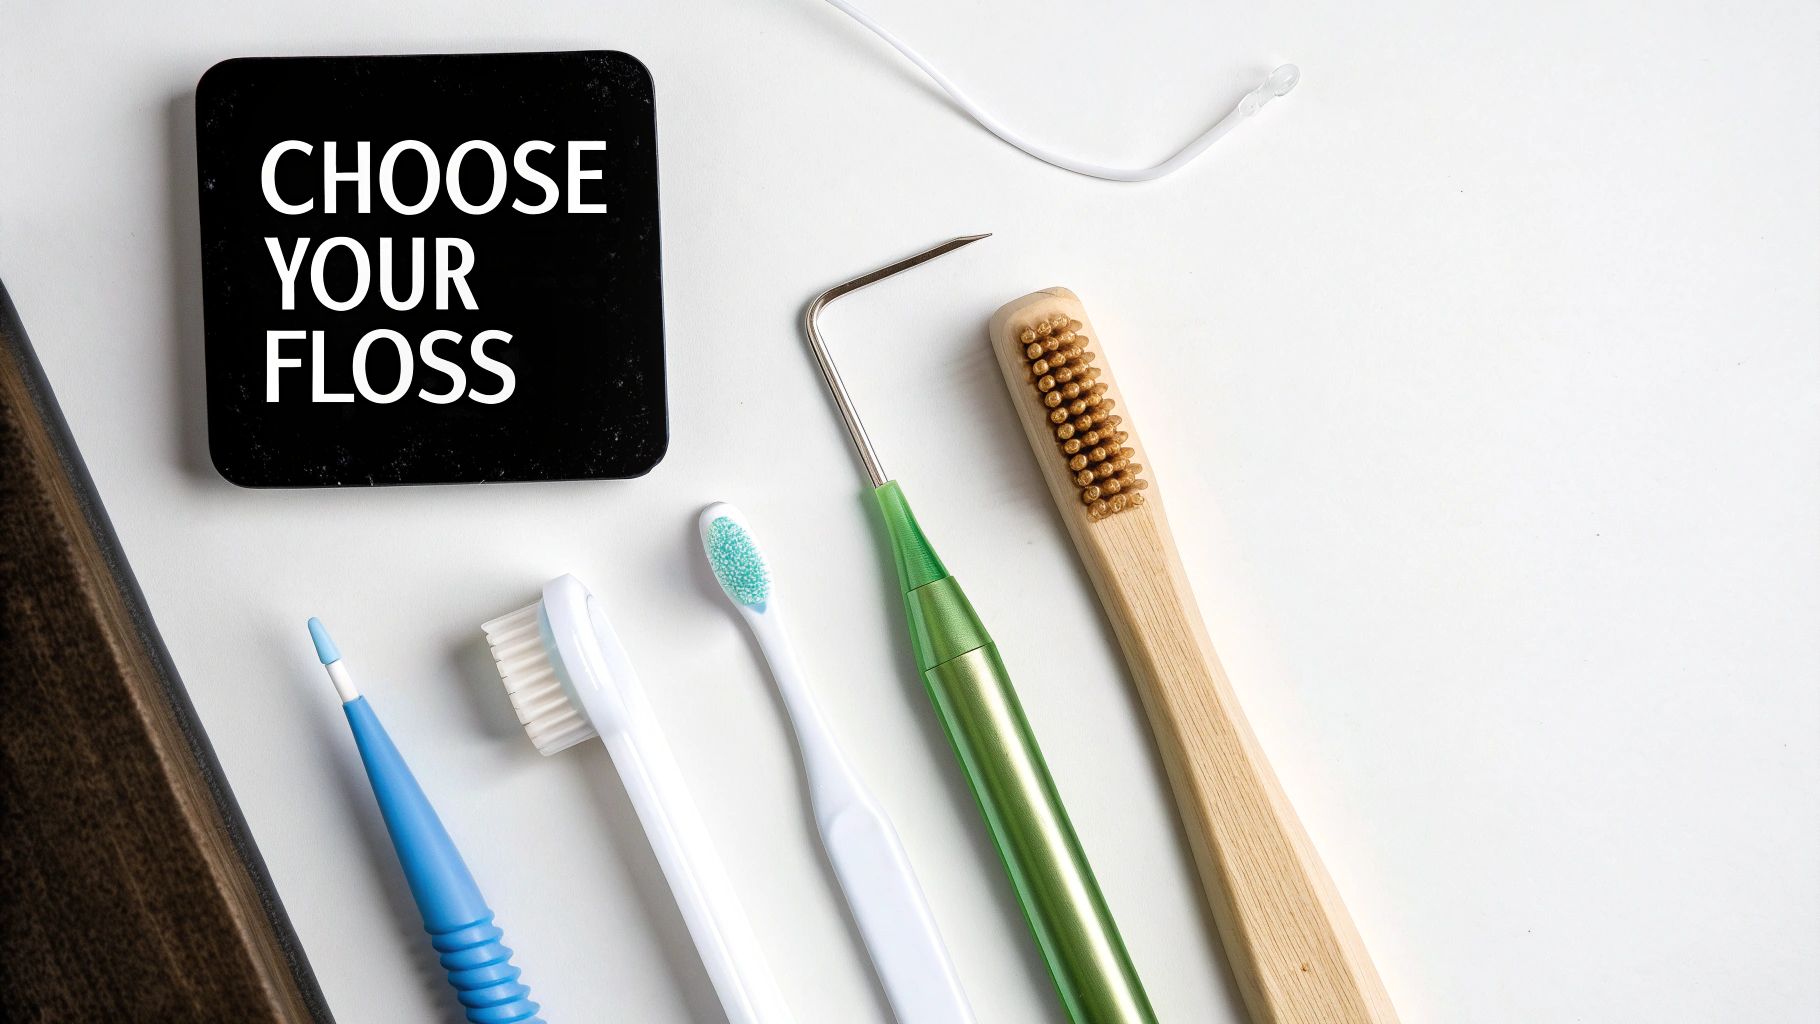
While the C-shape technique with string floss is the gold standard, the best tool is the one you will use correctly and consistently.
An array of interdental cleaners is available, each with specific strengths. Finding the right tool can transform flossing from a dreaded chore into a satisfying daily habit.
The Classic: Traditional String Floss
String floss is the original tool for a reason: it works. It provides unparalleled control to execute the C-shape, reaching precisely where needed. It is inexpensive, widely available, and highly effective once you master the proper flossing method.
You have several options:
Waxed Floss: A reliable choice with a light wax coating that helps it slide between tight teeth without shredding.
Unwaxed Floss: This thinner floss can produce a "squeak" on a clean tooth, but it is more prone to fraying, especially with crowded teeth.
Dental Tape: A wide, flat ribbon of floss ideal for larger gaps between teeth, as it covers more surface area.
String floss is ideal for anyone with standard teeth who is willing to learn the technique. Its primary drawback is the manual dexterity required, which can be a challenge for some.
The Convenient Option: Floss Picks
Floss picks are designed for convenience. They are small, disposable, and easy to use with one hand, making them ideal for cleaning on the go.
However, this convenience has a trade-off. The short, taut piece of floss makes it nearly impossible to form a C-shape around the tooth. Users often just pop it in and out, which only cleans the tightest contact point and misses the critical area below the gumline.
While a floss pick is better than nothing, it cannot match the thoroughness of traditional floss. Use it as a backup, not a daily replacement, unless your dentist advises otherwise.
Their popularity is undeniable. The market for floss picks is expected to grow by USD 162.7 million by 2028, reflecting a high demand for user-friendly options. You can learn more about these trends in the growing dental floss market.
The Power Washer: Water Flossers
Water flossers, or oral irrigators, use a pulsating stream of water to flush out plaque and food particles from between teeth and under the gumline.
They are a game-changer for people with:
Braces, permanent retainers, or other orthodontic appliances
Dental implants, bridges, and crowns
Sensitive gums unsuitable for string floss
Arthritis or other dexterity challenges
A water flosser is excellent for cleaning around complex dental work, but it does not physically scrape away the sticky plaque film. For this reason, most dentists recommend using it in addition to regular flossing, not as a complete substitute.
The Specialist: Interdental Brushes
These small tools are highly effective but often overlooked. Interdental brushes resemble tiny bottle brushes and are designed to clean spaces between teeth, especially if you have larger gaps, braces, or bridgework.
They physically scrub away plaque in these specific areas. They come in various sizes, so you must select the correct one for your teeth to avoid irritation. If you have gaps or complex dental work, these are a valuable tool.
Which Interdental Cleaner Is Right for You?
Use this table to find the best match for your specific needs and lifestyle.
Tool Type | Best For | Pros | Cons |
|---|---|---|---|
Traditional String Floss | Most people with standard teeth and good dexterity. | Highly effective at plaque removal; very affordable; widely available. | Requires learning a specific technique; can be difficult for those with limited dexterity. |
Floss Picks | On-the-go cleaning, convenience, and as a backup tool. | Extremely easy to use; portable and convenient. | Difficult to create the C-shape; less effective at cleaning below the gumline. |
Water Flossers | Braces, implants, bridges, sensitive gums, and dexterity issues. | Excellent for cleaning around dental work; gentle on gums; easy to use. | Higher initial cost; requires counter space and electricity; doesn't scrape away sticky plaque. |
Interdental Brushes | Larger gaps between teeth, braces, and bridges. | Very effective at scrubbing plaque from wide spaces; reusable. | Must choose the correct size to avoid gum injury; not suitable for tight contacts. |
The goal is to clean between your teeth daily. Experiment with different tools or a combination of them to find a routine that you can stick with consistently.
Navigating Flossing with Braces, Implants, and Bridgework
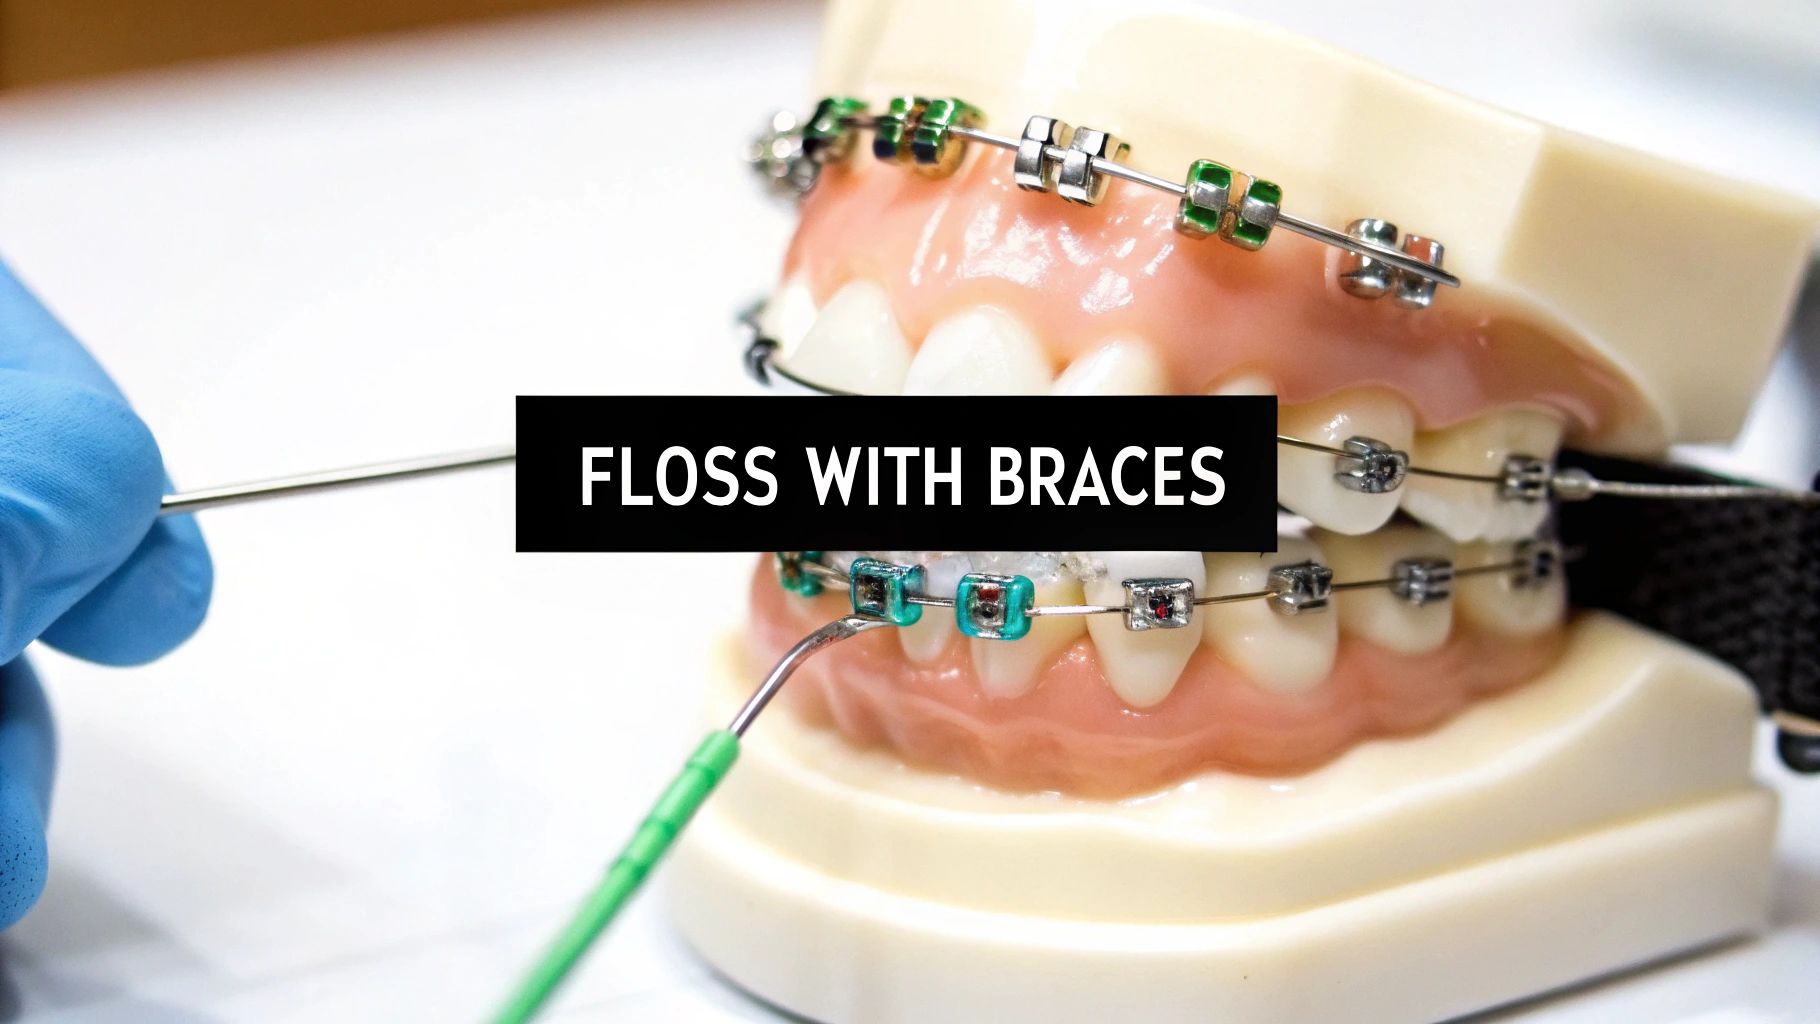
Dental work like braces, implants, and bridges creates new challenges for cleaning. These restorations have nooks and crannies where plaque can accumulate quickly, putting your investment and health at risk.
Mastering a specialized proper flossing method is essential to protect your dental work. It requires more patience and a few extra tools, but the payoff is a healthy smile that lasts.
Conquering Braces with a Floss Threader
Flossing with braces can seem daunting due to the wires and brackets. A floss threader is the key tool for this task.
A floss threader is a flexible plastic loop that guides floss underneath the archwire.
Here is the step-by-step process:
Cut a piece of floss about 18 inches long.
Thread about five inches of one end of the floss through the threader's loop.
Guide the pointed end of the threader under the orthodontic wire between two teeth.
Pull the floss through, release the threader, and floss normally. Form a "C" shape around one tooth, sliding it up and down to the gumline, then repeat on the adjacent tooth.
Re-thread the floss and repeat this action for every space between your teeth. This methodical approach is the only way to ensure a complete clean.
Take your time. The areas around brackets are plaque magnets. Thorough daily cleaning is your best action to prevent white spots (decalcification) from appearing after your braces are removed.
Cleaning Under Implants and Bridgework
Implants and bridges create a hidden space between the restoration and your gums that is a prime spot for food and bacteria. You will need specialized tools to clean this area effectively.
Super Floss: This three-in-one product features a stiffened end for threading, a spongy section for cleaning around the implant or under the bridge, and a regular floss segment. The spongy part is excellent for scrubbing plaque off wider surfaces.
Water Flossers: An oral irrigator effectively flushes debris from under bridges and around implants. Use it as a powerful supplement to manual cleaning.
Interdental Brushes: These small brushes are perfect for gently scrubbing underneath bridgework and cleaning the sides of the supporting teeth.
Regardless of the tool, be gentle but thorough. To clean under a bridge, use a floss threader or the stiff end of Super Floss to get underneath it. Sweep it back and forth to clean the underside of the artificial tooth (the pontic) and the sides of the supporting teeth. You can find more information in our detailed guide to restoring your smile.
Common Flossing Mistakes You Might Be Making
Even with daily flossing, a few common mistakes can reduce its effectiveness or even cause harm. Correcting these habits will significantly improve your oral health.
Here are the most frequent errors and how to fix them.
Being Too Aggressive with Your Gums
Applying too much force is a common mistake. Your gums are delicate and can be damaged by aggressive flossing.
The primary error is snapping the floss down between your teeth, which can cut or bruise your gum tissue. The goal is to slide, not snap.
Actionable Fix: Use a gentle back-and-forth sawing motion to guide the floss into place. This gives you control and prevents injury.
Only Cleaning the Gap, Not the Tooth
Simply popping the floss in and out of the space between your teeth removes loose debris but leaves behind the sticky plaque biofilm—the real threat.
Plaque accumulates on the sides of your teeth, especially in the pocket just below the gumline. It must be physically scraped away.
Actionable Fix: Implement the C-shape technique. Wrap the floss tightly around the side of each tooth and scrub up and down. This action is the entire point of flossing and cleans the surfaces your toothbrush cannot reach.
Stopping When You See Blood
Seeing blood can be alarming, but it is usually a sign that you need to be more consistent with flossing, not stop.
Bleeding is typically a symptom of gingivitis (inflamed gums) caused by plaque buildup. Your gums are reacting to the bacteria that have been left there too long.
What to do: Continue flossing daily, but be gentle. The bleeding signals that your body is fighting inflammation.
What to expect: With consistent, proper flossing, the plaque will be removed, the inflammation will subside, and the bleeding should stop within one to two weeks.
If bleeding is heavy or persists beyond two weeks of proper flossing, schedule an appointment with your dentist, as it could indicate a more serious issue.
Knowing When to See Your Dentist
A perfect flossing routine is your first line of defense, but it is not a cure-all. You need to know when professional help is required.
While daily oral care is essential for maintenance, persistent issues are a sign that you need an expert opinion. Your dentist has the tools to diagnose problems you cannot see yourself.
Red Flags That Need a Professional Look
Do not ignore these warning signs. While minor bleeding is common when starting a new flossing routine, it should not persist.
Watch for these specific symptoms:
Bleeding That Won't Quit: If your gums are still bleeding after two weeks of consistent, gentle flossing, book an appointment.
Receding Gums: If your teeth appear longer or you feel a notch where the tooth meets the gum, this is a sign of gum recession.
Bad Breath That Lingers: Persistent bad breath despite regular brushing and flossing can indicate a deeper gum infection.
Puffy or Sore Gums: Healthy gums are firm and pink. If they are red, swollen, or tender, it is a sign of inflammation that needs professional evaluation.
A solid flossing habit helps prevent gum disease, but it cannot reverse advanced conditions like periodontitis. These require professional treatment to stop the damage.
Ignoring these signs will only allow the problem to worsen. If you are in the Tempe area and notice these symptoms, seeking professional gum disease treatment options is the correct action. Being proactive is the best way to maintain a healthy smile.
Your Top Flossing Questions, Answered
Even after mastering the technique, some questions remain. Here are answers to the most common queries.
Floss Before or After Brushing?
The general consensus among dental professionals is to floss before you brush.
Think of it as a one-two punch. Flossing first dislodges food particles and plaque from between your teeth. Brushing afterward sweeps away this debris and allows the fluoride in your toothpaste to reach these newly cleaned surfaces, maximizing its effectiveness.
My Gums Bleed When I Floss. Should I Stop?
No, you should not stop. Minor bleeding is often a sign that your gums are inflamed due to plaque, meaning you need to floss more consistently.
Bleeding is a call to action, not a stop sign. Gentle, consistent flossing is exactly what your gums need to heal. Stick with it, and the bleeding should stop within a week or two as they get healthier.
If bleeding is heavy or continues for more than two weeks, call your dentist to rule out any more serious issues.
How Often Do I Really Need to Floss?
The American Dental Association (ADA) recommends flossing a minimum of once every 24 hours. Plaque is constantly forming and will harden into tartar if not removed daily. Only a professional cleaning can remove tartar.
Flossing at any time of day is beneficial, but doing so before bed is particularly effective. This action removes the day's debris, leaving less for bacteria to feed on overnight when your saliva production, your mouth's natural cleaning agent, decreases.
At Beautiful Dentistry, we know a healthy smile is built on great habits and the right advice. If you have more questions or you're ready to get your oral health on track with a professional cleaning, we're here for you. Schedule your new patient exam and X-rays for just $59 by visiting us at https://zdentist.com.


Comments