

How to Properly Floss Teeth for a Healthier Smile
- Caterina Rutter
- Jan 2
- 9 min read

Brushing is essential, but it can’t reach the 40% of your tooth surfaces tucked away between your teeth. Skipping flossing is like washing only 60% of your body. Those neglected areas are where plaque builds up, leading directly to cavities and gum disease. Making flossing a non-negotiable part of your daily routine is the single most effective action you can take to prevent these issues.
Why Flossing Is More Than Just a Daily Chore
Flossing isn't an optional extra; it's the only way to clean the tight spaces a toothbrush can't access. Think of your teeth as cubes. Brushing cleans the front, back, and top, but leaves the two sides pressed against their neighbors completely untouched.
Without flossing, you allow plaque—a sticky, invisible film of bacteria—to thrive in those gaps. This buildup is the root cause of the most common and costly dental problems.
Your First Line of Defense Against Gum Disease
Flossing is your most powerful tool against gingivitis, the initial stage of gum disease, which affects nearly half of all adults. In the US, over 90% of adults have had cavities, and one in four has untreated decay. These statistics highlight a clear gap in oral care: cleaning between the teeth.
Actionable Step: Make flossing a daily habit. By removing the plaque that brushing misses, you actively stop the process that leads to cavities and gum inflammation before it can cause permanent damage.
The Powerful Partnership of Brushing and Flossing
Brushing and flossing work as a team. One without the other leaves your mouth only partially clean. Flossing first dislodges food particles and plaque from between your teeth and just under the gumline. Once you've cleared out this debris, your toothbrush and fluoride toothpaste can work more effectively, delivering protective minerals to every surface of your teeth. We cover this in more detail when we explore the advantages of flossing your teeth in our other guide.
A complete oral care routine, including both brushing and flossing, is the only proven strategy for maintaining a healthy smile for life.
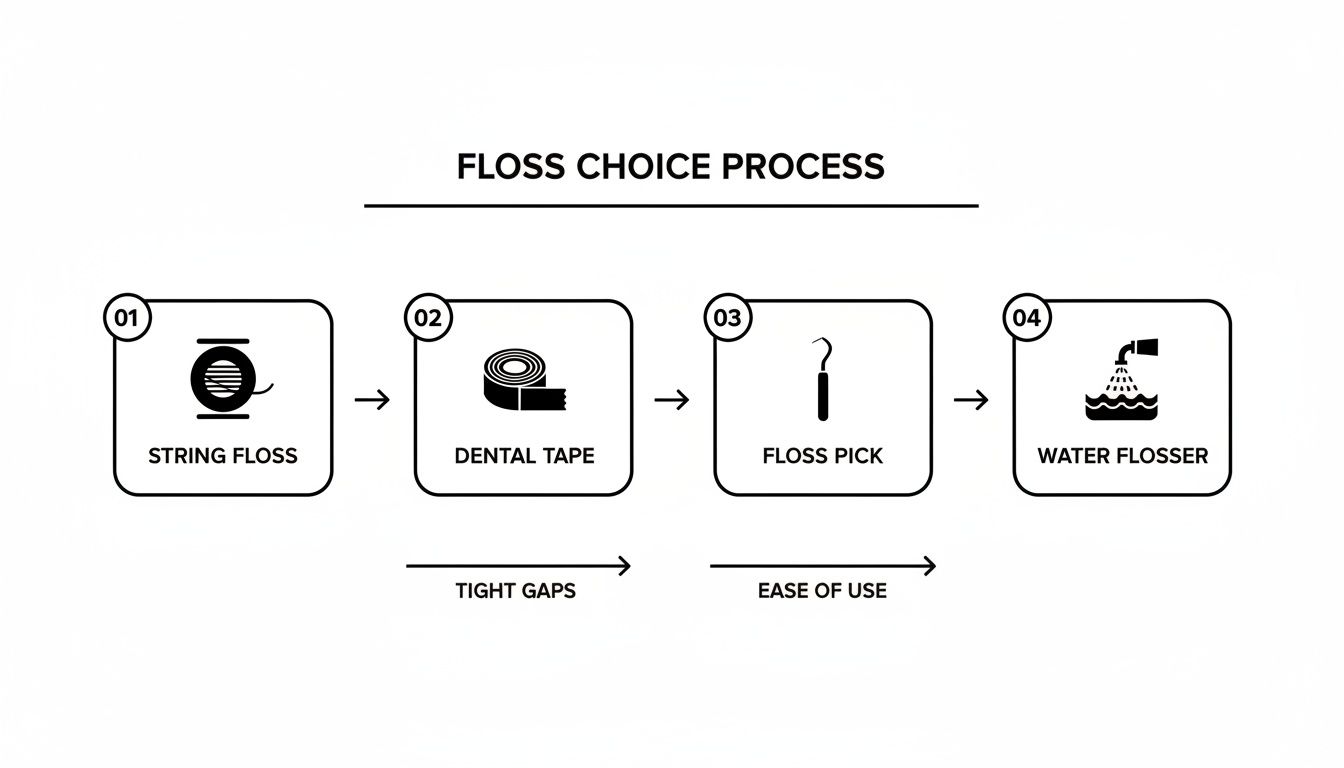
Choosing Your Ideal Flossing Tool
The dental aisle can be overwhelming, but finding the right tool is simple. The best product isn't a universal "best"—it's the one that fits your mouth and that you'll use consistently. Let's break down the options so you can choose the right tool for the job.
Traditional String Floss: The Gold Standard
String floss is the classic for a reason: it's highly effective. Your choice depends on the spacing of your teeth.
Waxed Floss: Use this if your teeth are crowded or tight. The wax coating helps it slide easily between teeth without shredding or getting stuck.
Unwaxed Floss: If you have more space between your teeth, unwaxed floss works well. It's thinner and can provide a "squeak" sound against a clean tooth, giving you instant feedback.
Dental Tape: This is a wider, flatter version of floss. Choose dental tape if you have significant gaps between your teeth, as its broad surface cleans more area with each pass.
Your Guide to Choosing the Right Floss
Use this table to find your perfect match.
Floss Type | Best For | Pros | Cons |
|---|---|---|---|
Waxed Floss | Tight teeth, beginners | Glides easily, resists shredding | Wax coating can make it feel slightly thicker |
Unwaxed Floss | Normal spacing | Thin, provides "squeaky clean" feedback | May shred or get stuck in tight contacts |
Dental Tape | Wide gaps, bridges | Covers more surface area, very strong | Can be too bulky for tight spaces |
Floss Picks | On-the-go, dexterity issues | Convenient, easy to use with one hand | Can be less effective at wrapping around teeth |
Water Flossers | Braces, implants, sensitive gums | Reaches tricky areas, gentle on gums | Higher initial cost, requires power and water |
The best tool is the one you use every day. Experiment with a few types to find what feels most comfortable and effective for you.
Modern Tools for Today's Smiles
String floss isn't the only option. There are excellent alternatives to traditional flossing that may be a better fit, especially if you have braces, implants, or find string floss difficult to manage.
Floss picks are small, disposable plastic tools with a short piece of floss held tight. They are perfect for on-the-go use and are easier for people with limited dexterity to handle.
A water flosser (or oral irrigator) is another powerful tool. It uses a targeted stream of pulsating water to flush away plaque and food from between teeth and below the gumline.
Water flossers are particularly useful for cleaning around:
Braces
Bridges or implants
Crowns
Gums that are sensitive or prone to bleeding
They navigate complex dental work with ease. Selecting the right tool removes barriers and makes it easier to learn how to properly floss teeth and maintain the habit.
Mastering the C-Shape Flossing Method
You've chosen your tool—now for the technique. The C-Shape method is the most critical part of flossing correctly. It's what dentists teach because it cleans the area brushing can't reach: the small pocket just under your gumline where plaque accumulates. Simply snapping floss between your teeth is ineffective and can harm your gums. The C-Shape is a gentle, thorough approach that cleans the entire side of the tooth.
Step 1: Prepare Your Floss
Proper setup makes the process smooth and effective.
Start with about 18 inches of floss. This length is crucial because it allows you to use a fresh section for each tooth, preventing the spread of bacteria.
Wrap most of the floss loosely around one middle finger and a small amount around the other. This setup lets you reel in the used section as you go. Pinch a one-to-two-inch segment tightly between your thumbs and index fingers for maximum control.
Actionable Step: Use the 18-inch rule and anchor the floss on your middle fingers. This gives you the control and clean floss surface needed for a thorough job.
Step 2: The Gentle Zig-Zag Entry
Never force or "snap" floss straight down into your gums. This common mistake can cause pain and damage the delicate gum tissue over time.
Instead, gently guide the floss between your teeth using a subtle back-and-forth, zig-zag motion. Wiggle it into place carefully. This small adjustment makes a huge difference in comfort and protects your gums.
While the right tool is important, the C-Shape technique is what truly makes traditional string or tape floss effective.
Step 3: Form the Perfect C-Shape
This is where the real cleaning happens. Once the floss is between your teeth, curve it into a “C” shape, wrapping it snugly around one side of the tooth.
Slide the floss up and down against the tooth surface, making sure you dip just below the gumline. You should feel slight pressure, but it should not be painful. This is the spot where the most harmful plaque builds up.
After cleaning one side, lift the floss over the triangle of gum (the papilla) and wrap it in a C-shape around the other tooth in the same gap. Repeat the up-and-down motion. You must clean both sides in every gap. This method is confirmed by research to remove debris that brushing misses, as detailed in studies on proper flossing techniques.
Your C-Shape checklist:
Hug the Tooth: Ensure firm contact between the floss and the tooth's side.
Go Below the Gumline: Gently guide the floss into the space between the tooth and gum.
Clean Both Sides: Address both tooth surfaces in every gap before moving on.
Mastering this technique means you know how to properly floss teeth for a truly deep clean at home.
Common Flossing Mistakes You Can Easily Fix
It's easy to fall into bad flossing habits that make your efforts less effective. The good news is that these common mistakes are simple to correct. A few small adjustments will elevate your technique from just "getting it done" to mastering how to properly floss your teeth.
Being Too Rough on Your Gums
The Mistake: Snapping floss down hard between your teeth, thinking more force means a better clean.The Fix: This aggressive action can injure your gums and lead to recession over time. The goal is to gently guide the floss using a zig-zag motion, not force it. Be deliberate and gentle to protect your gum health.
Using the Same Small Piece of Floss
The Mistake: Using a short piece of floss for your whole mouth. This just moves plaque from one tooth to another.The Fix: Always start with about 18 inches of floss. As you clean between each set of teeth, wind the used section onto one finger and unwind a clean piece from the other. This ensures you're removing plaque, not just relocating it.
Only Cleaning the Gaps
The Mistake: Viewing flossing as a way to just remove stuck food, quickly running the floss in and out of the gap.The Fix: Remember, the primary goal is to clean the sides of each tooth where brushing misses up to 40% of the surface. Execute the C-Shape technique on both sides of every tooth, scraping the entire surface clean, especially below the gumline.
Stopping if You See a Little Blood
The Mistake: Seeing pink on your floss and stopping because you think you're hurting your gums.The Fix: Minor bleeding is a sign of gingivitis (gum inflammation) caused by plaque. It means you need to floss more consistently, not less.
What it means: Bacteria has irritated your gums, causing inflammation.
What to do: Continue to floss gently and thoroughly every day.
What to expect: The bleeding should stop within one to two weeks as your gums become healthier.
If bleeding is heavy or continues for more than two weeks of consistent, gentle flossing, contact Beautiful Dentistry. We can ensure there isn't another issue. For more context, you can review dental health statistics on imagineyoursmile.com.
Flossing With Braces, Implants, or Sensitive Gums
Standard flossing advice doesn't work for everyone. If you have braces, implants, bridges, or sensitive gums, you need a specialized strategy to clean effectively without causing irritation. These dental conditions create new areas where plaque can hide, making a thorough cleaning routine even more critical.
Here are actionable techniques for these unique situations.
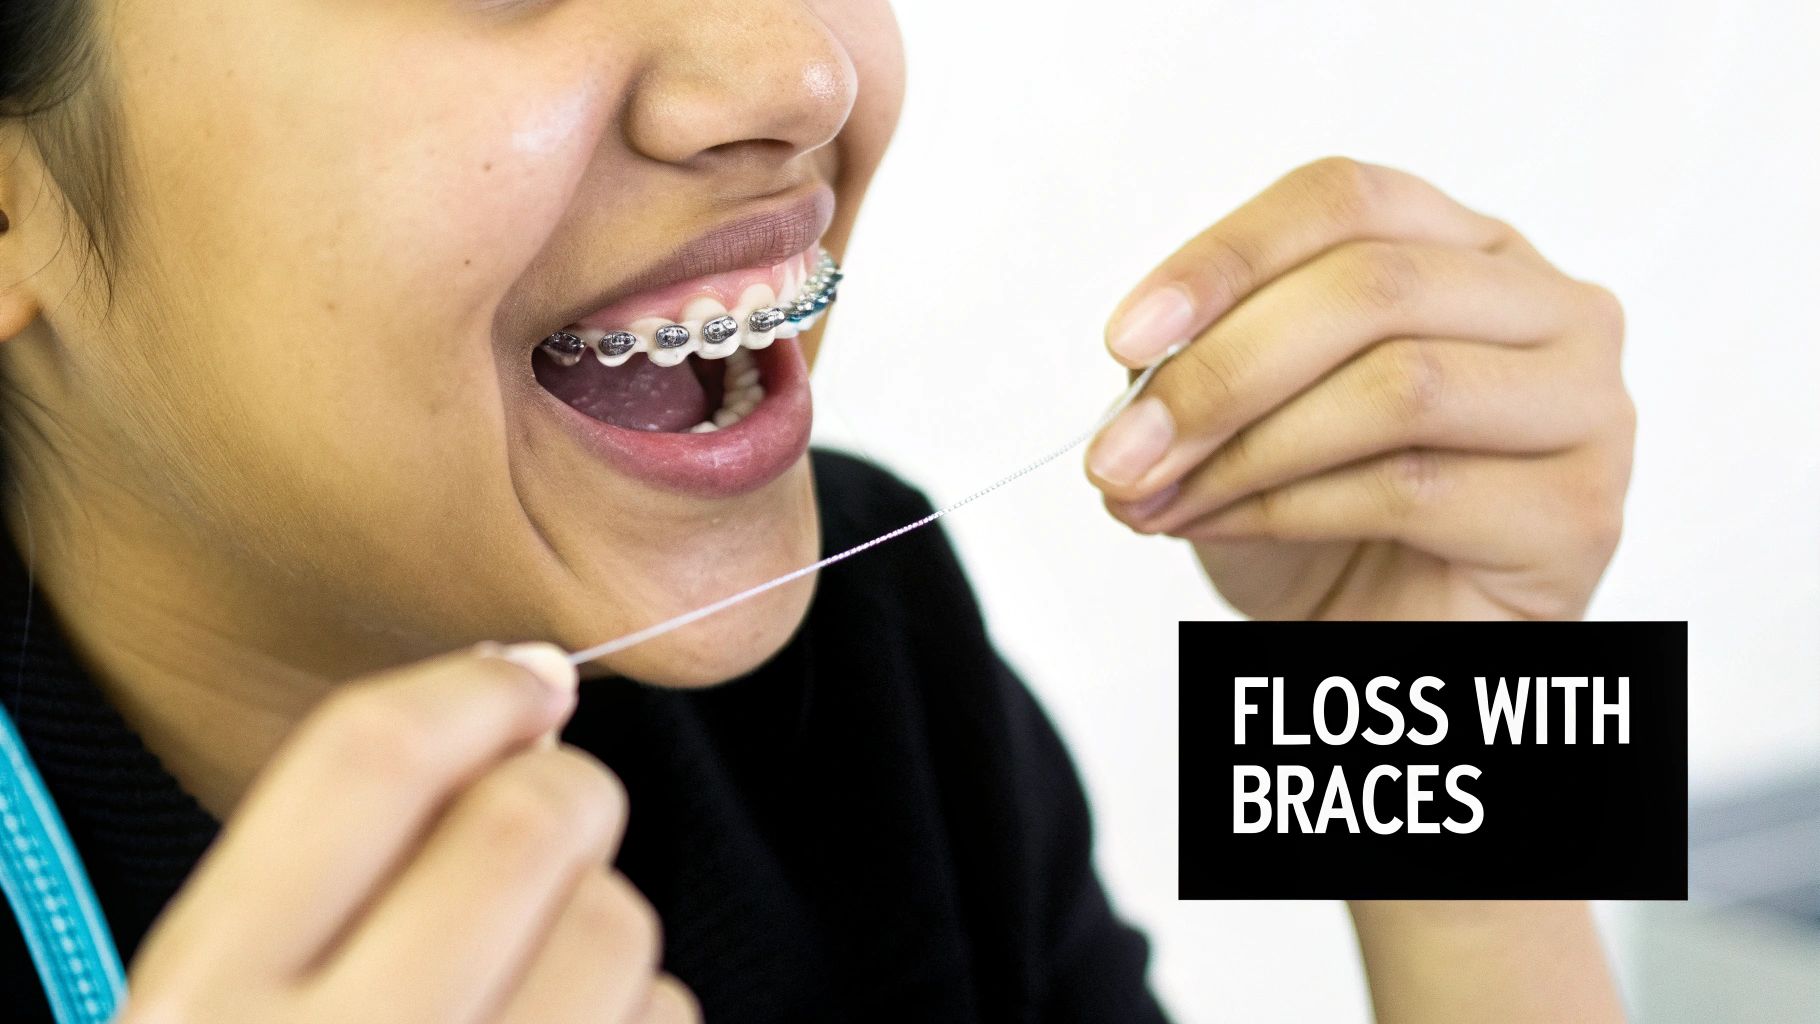
Navigating Braces and Wires
Flossing with braces is challenging but essential.Actionable Tool 1: Floss Threader. This is a flexible loop that works like a needle and thread. Thread your floss through it, then guide the threader under your main archwire. Once through, you can floss between the teeth using the standard C-shape method. For a step-by-step tutorial, check out this guide on how to floss with braces.Actionable Tool 2: Water Flosser. This device uses a pulsating stream of water to flush out food and plaque from around brackets and under wires, reaching spots that string floss can't.
Cleaning Around Implants and Bridges
Bacteria can build up where restorations meet the gumline, creating a high-risk zone for inflammation that could lead to implant failure.
Use Super Floss: This product is designed for this purpose. It has a stiff end for threading under bridges, a spongy section for cleaning around the implant, and a regular floss end for other teeth.
Use a Water Flosser: A water flosser is highly effective at flushing out debris from the small pockets around implants and under bridges.
Proper cleaning around implants protects your investment. Neglecting this area can lead to peri-implantitis, a condition similar to gum disease that can cause bone loss and implant failure.
Gentle Techniques for Sensitive Gums
If flossing causes pain or bleeding, the solution is to be more gentle and consistent, not to stop.Actionable Steps: Switch to a soft, waxed floss that glides easily. Focus on a controlled, gentle C-shape motion and never snap the floss into your gums. A water flosser on a low-pressure setting is also an excellent option for effective cleaning without irritation. If bleeding persists after a week of gentle flossing, explore these actionable steps for healthy gums to address the underlying issue.
Your Flossing Questions Answered
Here are clear, actionable answers to the most common flossing questions to help you build a solid, effective habit. Getting these details right ensures you know how to properly floss teeth and are getting maximum benefit from your efforts.
Does It Matter If I Floss Before or After Brushing?
The most important factor is consistency. The best time to floss is whenever you will actually do it every day. However, for maximum effectiveness, floss before brushing. This clears out debris from between your teeth, allowing your toothbrush to sweep it away and letting the fluoride from your toothpaste reach these freshly cleaned surfaces.
My Gums Bleed When I Floss. Should I Stop?
No, do not stop. Bleeding is a sign of inflamed gums (gingivitis) caused by plaque buildup. It's a signal that your gums need flossing.
Your Action Plan: Continue to floss gently every day. The inflammation is a response to bacteria, and removing that bacteria is the cure. The bleeding should resolve within one to two weeks as your gums heal and become stronger.
If you experience heavy bleeding or it doesn't improve after two weeks, call us for an appointment. For more answers, see our frequently asked questions about oral care habits.
How Often Should I Really Be Flossing?
Floss at least once every 24 hours. Plaque starts to form again immediately after cleaning. Daily flossing disrupts this plaque before it can harden into tartar, a stubborn deposit that can only be removed by a dental professional. Make it a non-negotiable part of your nightly routine to remove the day's buildup and give your mouth a clean start for the night.
Your smile is a lifelong investment, and our team is here to help you protect it. If you have more questions or are ready to schedule a professional cleaning, the experts at Beautiful Dentistry are ready to help. Contact us today to book your appointment at our Tempe, AZ office and experience personalized, state-of-the-art dental care. https://zdentist.com


Comments